Updated the ISO 15614-1 Standard for the specification and qualification of welding procedures for metallic materials
The ISO 15614-1 standard develops and details how to qualify a welding procedure to demonstrate that the procedure is capable to produce welded joints with suitable characteristics for its application. This part of the ISO 15614 standard is applicable to arc welding and gas welding of steels, as well as arc welding of nickel and nickel alloys in any form of product.
“One of the main changes brought by this new edition of the standard is the identification of two qualification levels.“
- Level 1: It is mainly based on the requirements of the ASME IX code for boilers and pressure equipment, although the implementation of this code goes beyond this equipment. Level 1 is only applicable if it is specifically requested by the design of the welded structure requested, by product specifications, etc.
- Level 2: It is based on previous editions of the ISO 15614-1 standard with some small modifications. By default, when not otherwise specified, level 2 shall apply.
Regardless of the type of welded joint, the tests performed to qualify a procedure according to ASME IX do not apply to qualify the procedure according to norm ISO 15614-1 level 1.
Regarding the extraction of tensile test specimens, a very interesting change is presented. The standard ISO 4136 “Non-Destructive tests on welds in metallic materials. Transverse tensile test” indicates that the thickness of the testing specimen must be equal to the thickness of the base metal near the welding seam. And for coupons thicker than 30 mm, several test specimens can be extracted to cover the whole thickness of the union, but the specimens must be overlapped. However, in this latest update of the ISO 15614-1 standard it is said that the overlap between samples is not necessary as established by ISO 4136 standard.
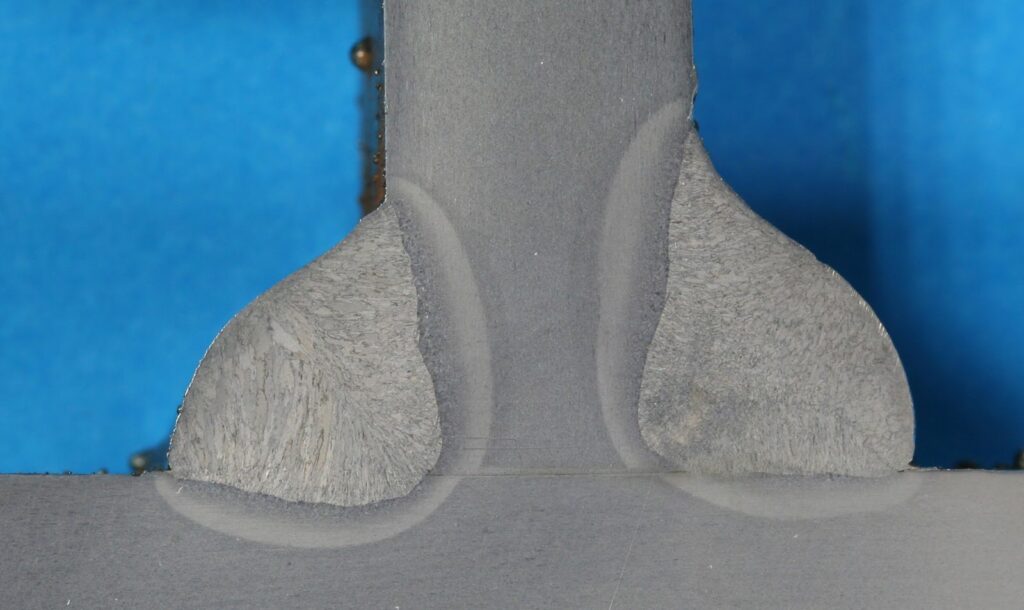
When it comes to macroscopic estimations of the welded joints in homologation tests of coupons at an angle, the requirements for acceptance for certification level 1 have been included and levels of acceptance for level 2 have been changed. To be specific, in the latter case, changes focus on the levels of acceptance according to ISO 5817 standard, which moves the level B to level C for the following imperfections: continuous bite, discontinuous bite and incorrect agreement angle.

Another relevant change is related to the impact or Charpy testing. Resilience tests carried out on the welding areas and the heat affected zone (HAZ) must be performed with an equipment that has a 2mm radius blade in the hammer. Thus, those tests conducted with 8mm radius blades are not valid. On the other hand, the previous version of the standard indicated that for fillet brazing of more than 50mm of thickness two sets of additional specimens had to be extracted (one from the welding and another one from the HAZ), right from the centre of the coupon thickness or from the root. In this latest update, additional specimens must be taken out from the root of the union. Samples from the centre of the coupon are not allowed.
Regarding Vickers hardness, the maximum allowed hardness value is expanded for steels that belong to groups 4 and 5. For the rest of the steel groups, the maximum level of hardness permitted is the same of the previous edition of the standard.
Another modification that introduces this new update of the standard refers to thes non-destructive counter-tests. Until this latest edition, the standard stated that if the coupon did not comply with the established requirements, another trial coupon should be welded to undergo with the same procedure. However, this last update indicates that if the non-destructive testing of the coupon does not meet the requirements set out in the standard an analysis can be done to determine the root cause and, if this study concludes that the failure was not due to a wrong approach of the welding procedure and it is attributable to the skill of the welder, it would not be necessary to weld a further trial coupon. A report of such evidence should be added to the WPQR, but should be taken into consideration that the welder cannot be approved by means of this WPQR.
The update of the standard includes multiple changes related to the manufacturer, the thickness of the base metal and tube diameter, to other specific aspects of the welding processes, as well as with other aspects common to all welding processes. Therefore, it is recommended to refer to the ISO 15614-1 standard for any aspect related to the welding procedure qualification ranges.
Finally, and to summarize, the introduction of level 1 of qualification based on the requirements of the ASME IX code is the most remarkable novel change brought by this update. In general, for manufacturers of welded structures, this modification means that a WPQR created to homologate a fillet brazing according to ISO 15614-1 can also be homologated according to ASME IX.
From the metallurgical point of view, the changes regarding destructive testing and specimen extraction area mean that the characteristics registered in the WPQR are the ones that would represent the union in a more critical condition.
IK4-AZTERLAN is a Metallurgical Research Center with an outstanding expertise in metallic materials and in their different transformation technologies (which include welding), offering at the same time duly accredited technology services for the homologation of welding procedures, welder and welding operator, including non-destructive testing, mechanical testing, and macro and microstructural characterizations.
The experience of the specialists and researchers from IK4-AZTERLAN allows to provide technological support to the multiple needs of the industry in this field, ranging from the characterization of a wide sort of unions (welded, mechanical, … etc.), to the optimization of materials and the improvement of production processes.


